
Chutes are a really effective way to manage garbage disposal and they are used by millions of people every day. Cleaning the chutes can seem overwhelming, and many managers hire a contractor to do this a few times a year. That option is effective, but it is both expensive and often not done monthly or weekly which is a best practise. Cleaning the chutes can seem like a major burden, but it is not difficult with the correct systems in place.
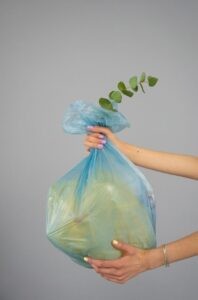
The reason chutes can get dirty is that not all garbage bags are not tied perfectly and some burst when they land. Debris sticks to the chute. For more about how this can cause smells to waft read Ugh…Why Does the Chute Room Smell Disgusting?
Hazards from uncleaned chutes
Dirty chutes cause smell to waft into the chute rooms and even down halls when the door is open. Due to the updrafts in a room, air moves upwards in a chute (for more information on this read here). Dirty smelling chutes can be one reason residents sometimes leave garbage bags on the floors. In addition to smells though, dirty chutes collect harmful bacteria and build up flammable grease.
Benefits of Clean Chutes
Clean chutes eliminate the bacteria in them, get rid of flammable grease buildup, reduce pest infestations and several managers have said that with regular chute cleaning fewer bags are left in chute rooms. Also, because the water drains into the compactor room, the cleaning process means that the compactor room floors are washed as well. Cleaning the chutes is one of the best odor neutralizers around.
DIY vs. Contractor Cleaning
Good chute cleaning contractors do an excellent job with chute cleaning. They often use hot water and specialized equipment that reaches every floor of the building, leaving the chutes perfectly clean. Generally, condos use this type of service two times a year to maintain chutes. However, this is also a costly option. Mid-sized buildings (15 – 20 floors) budget about $500 + HST for each cleaning.
The DIY approach requires some equipment but is very inexpensive. It also enables the cleaning to be done on a weekly basis which means chutes never get very dirty and grease build-up is minimal. They never smell bad and bacteria and mould do not get a chance to grow. If you haven’t had the chutes cleaned professionally for a long time it might be an idea to get one professional cleaning before you start to do it weekly. That way all chute room doors will be cleaned as well as the chutes. Otherwise it may take several weeks for the chute cleaning process to get the chutes and doors perfectly clean. However, once you have clean chutes you can continue with the DIY method which stops odours, bacteria and grease from building up.
Equipment for Chute Cleaning
Chute cleaning systems start at the top of the building. There should be a water connection and also a dispenser for chute cleaner and degreaser so the chutes are washed, not rinsed (rinsing is ineffective). Sometimes managers don’t know if they have a system. As part of our service, an Air Fixx technician will locate your system, inspect it and recommend adjustments if necessary. These may require calling your plumber.

Chute cleaning systems start at the top of the building. There should be a water connection and also a dispenser for chute cleaner and degreaser so the chutes are washed, not rinsed (rinsing is ineffective). Sometimes managers don’t know if they have a system. As part of our service, an Air Fixx technician will locate your system, inspect it and recommend adjustments if necessary. These may require calling your plumber.
Chute Cleaning Steps
- Set up a schedule. This is important as the chutes will need to be closed for a couple of hours during the day. Residents must be aware of it in advance. Having a regular schedule can really help residents remember that it will be done so they are not inconvenienced.
- Make sure the drains in the chute room are in good working order
- Lock chute doors and turn off the compactor system
- Remove compactor bins from compactor area (including the compactor and recycling and organics bins)
- Go to the top floor and clean the air shaft
- Turn the cleaner dispenser to ‘on’ (or put the tube into the degreaser); use a chute wash degreaser that is effective, not one that requires scrubbing to work.
- Run for 10 minutes
- Turn off and wait for 15 minutes to allow the chute cleaner to work
- Turn the cleaning dispenser to ‘off’ or remove tube from degreaser
- Rinse for 5 minutes
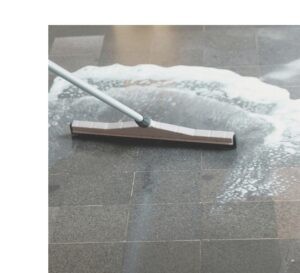
- Return to garbage room and clean the floor; squeegee after cleaning to protect floor surface
- Replace bins
- Turn garbage compactor system back on
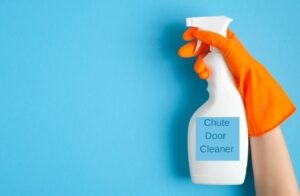
- Visit chute rooms and clean the inside of the door with chute door cleaner
The job is not hard when done often. Insects, grease build-up, bacteria and bad smells that waft down halls will be gone. Managers may get fewer odor complaints. To read more about bad odours and emotions read this article Is there a link between bad smells and thoughts?